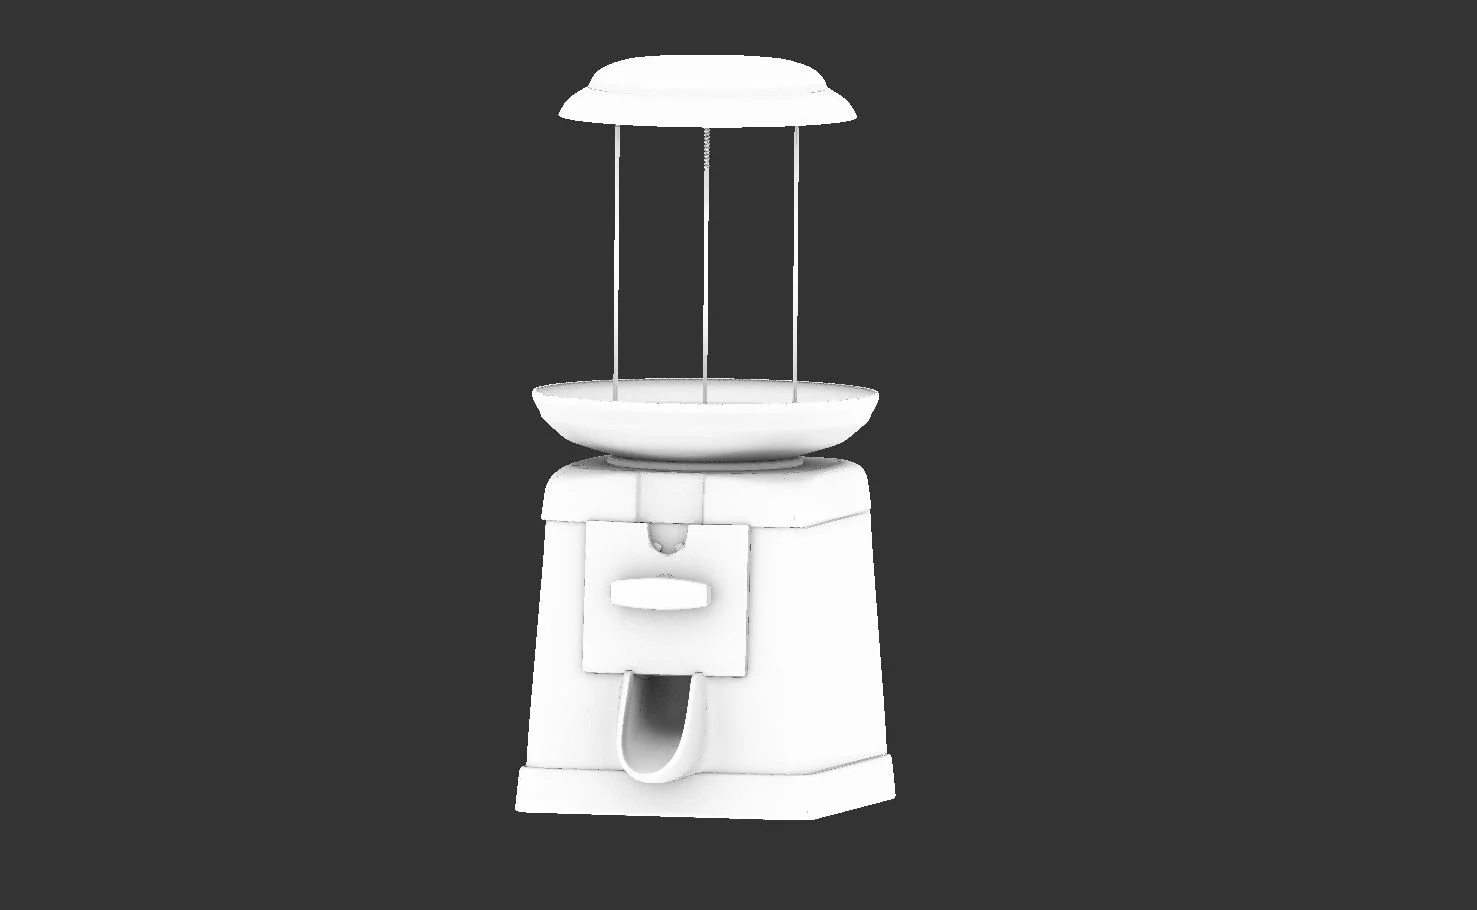
V-RAY FOR MAYA AMBIENT OCCLUSION BAKING
Pros
- Clean AO map
- Variety of options
- Relatively Fast
- If you’re going to be painting in MARI, it gives an exporting to change the extension to UDIM.
- You can see the map render. It gives you a better estimation on the progress or if you have any issue.
CONS
- Maya/Vray users only
- Isn’t as fast as other methods
BAKING TIME
- Machine Specs: i7 6700K | 32 GB | Geforce 1070
- Tile Resolution and Quantity: 2K - 4 Tiles
- Baking time: Aprox. 6 minutes
STEP 01
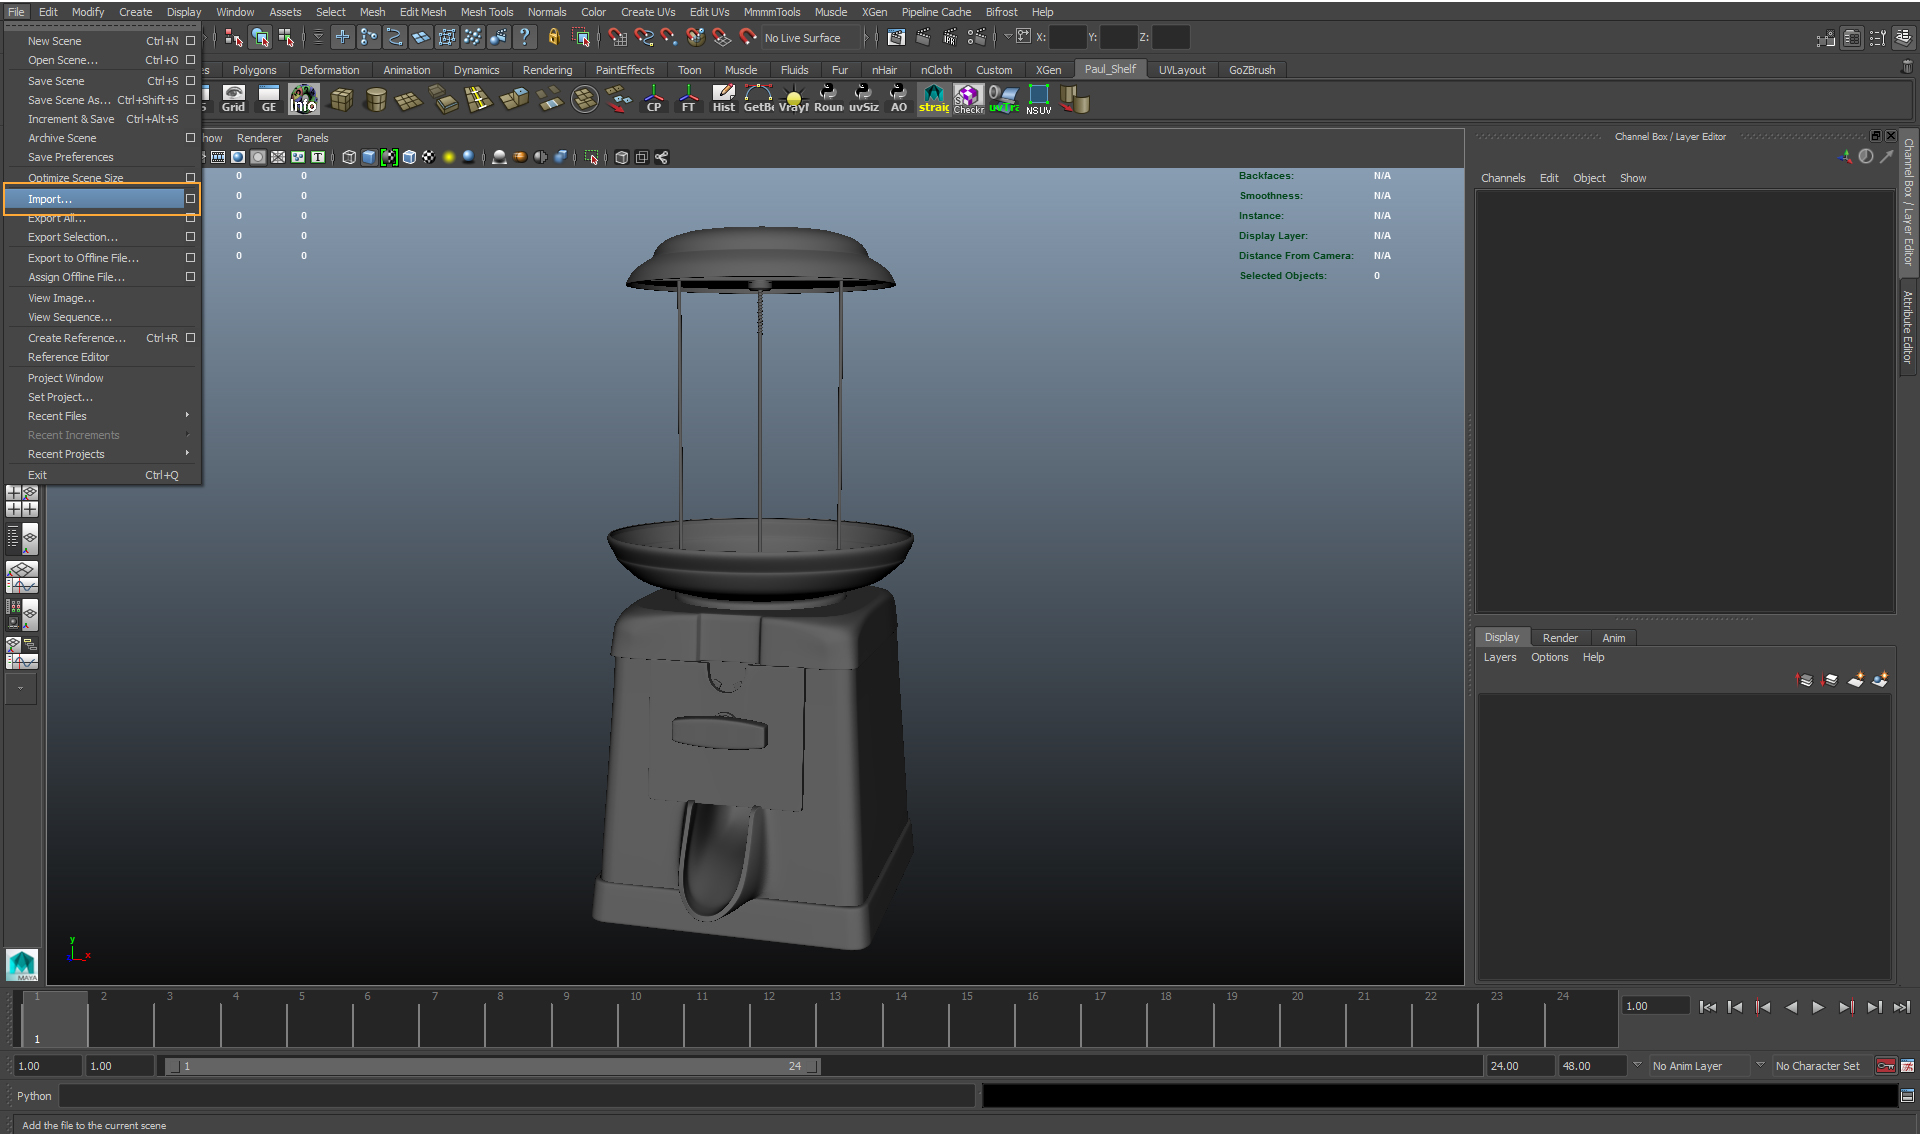
Open Maya and import your HIGH RES geometry.
STEP 02
Enable V-Ray as your renderer.
STEP 03
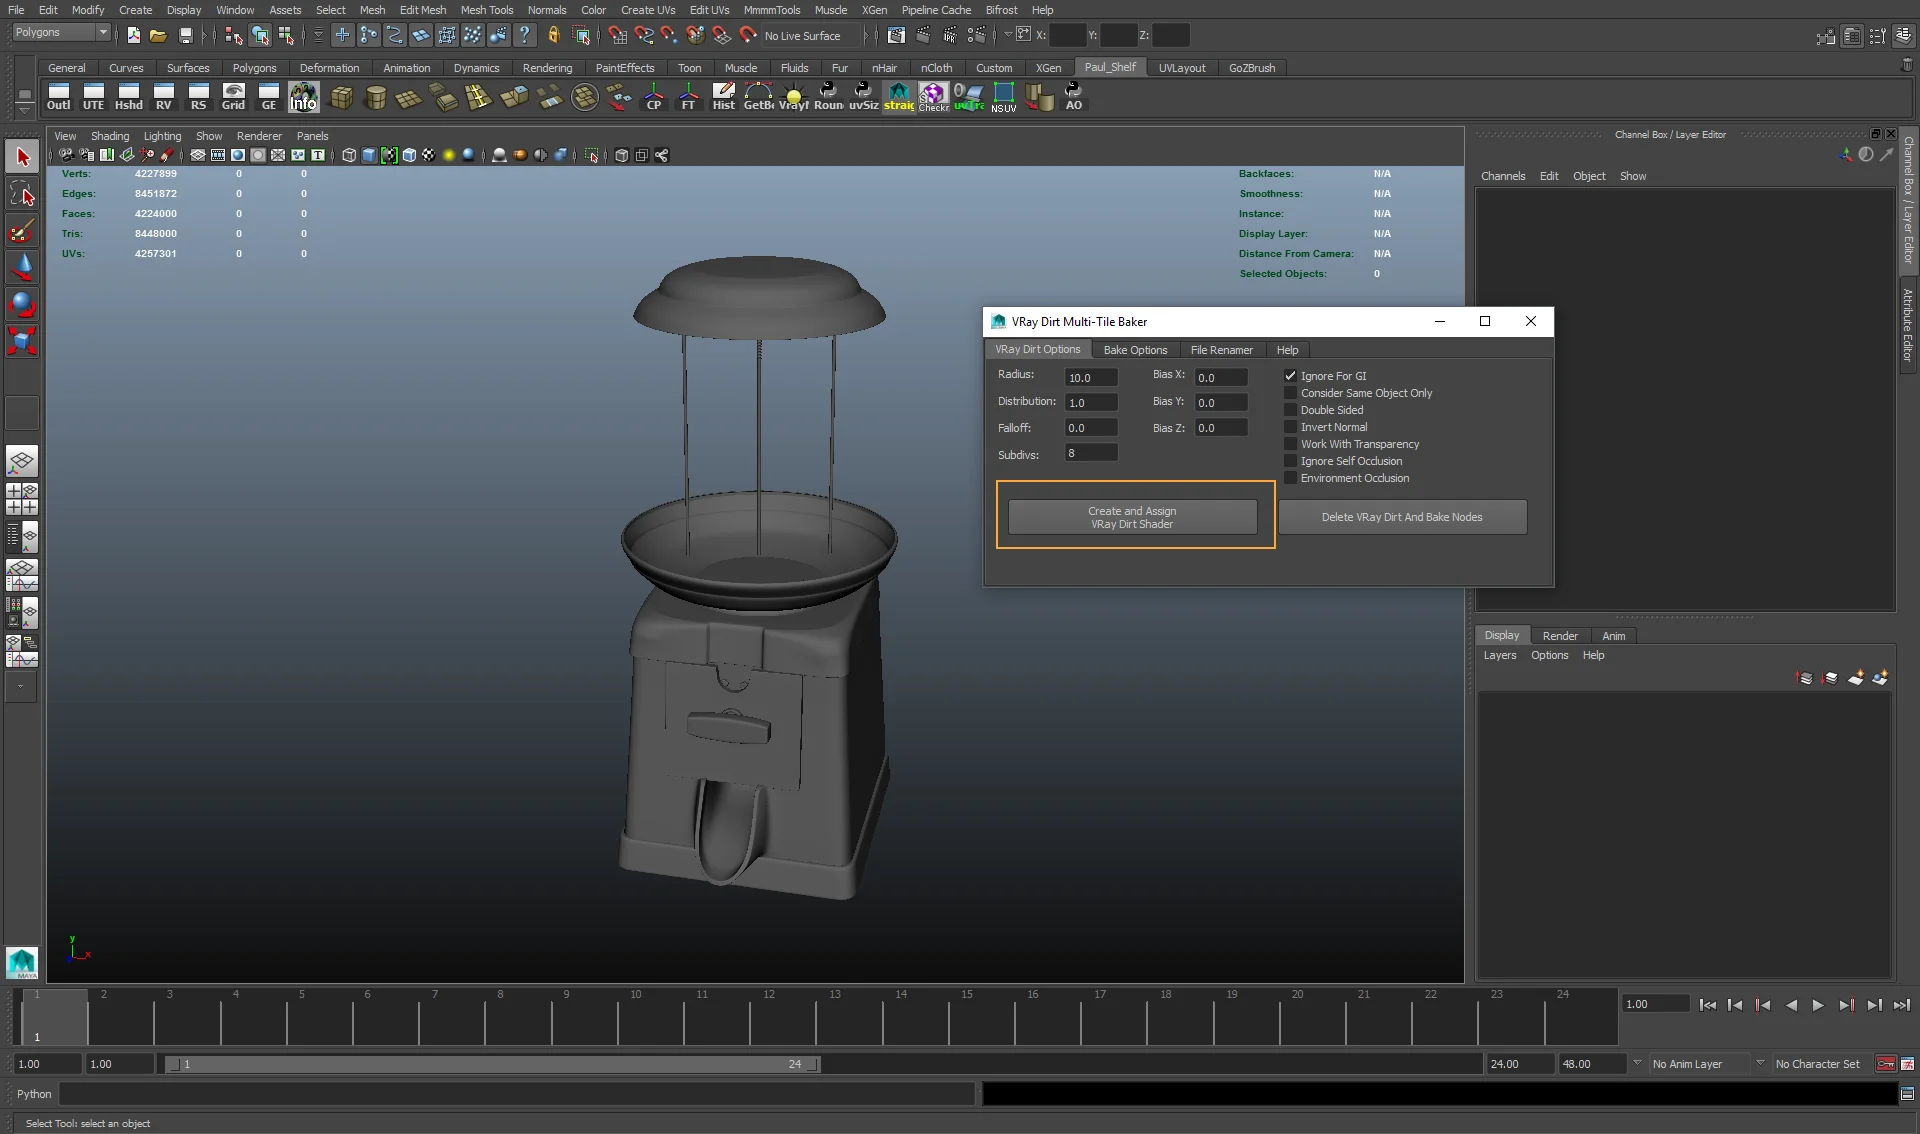
Install the Multi-Tile plugin and launch it.
If you installed it correctly, you’re going to get a window like the one below.
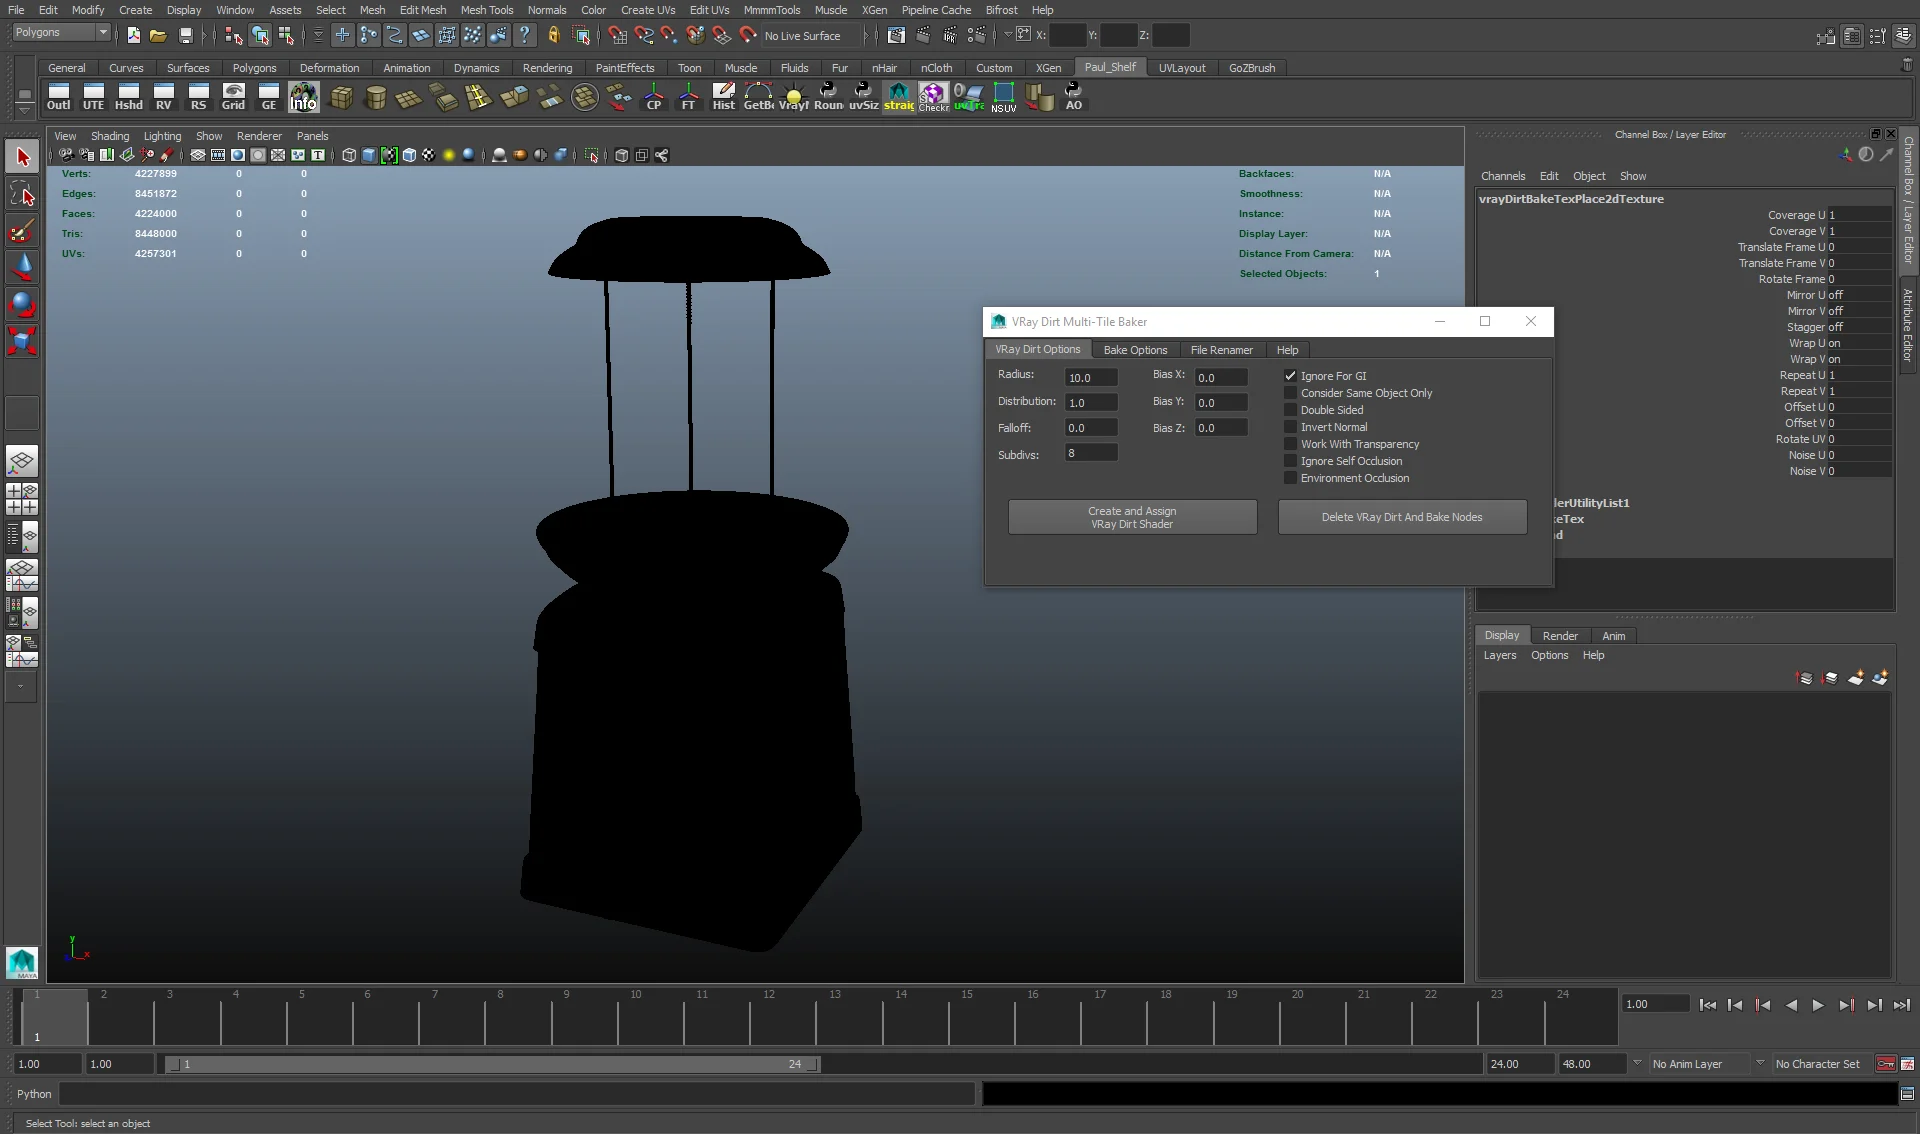
Select your model and click on “Create and assign Vray Dirt Shader.” Your model should be all black now. I usually leave all the settings on this tab as default, but you can experiment different values to get other results.
STEP 04
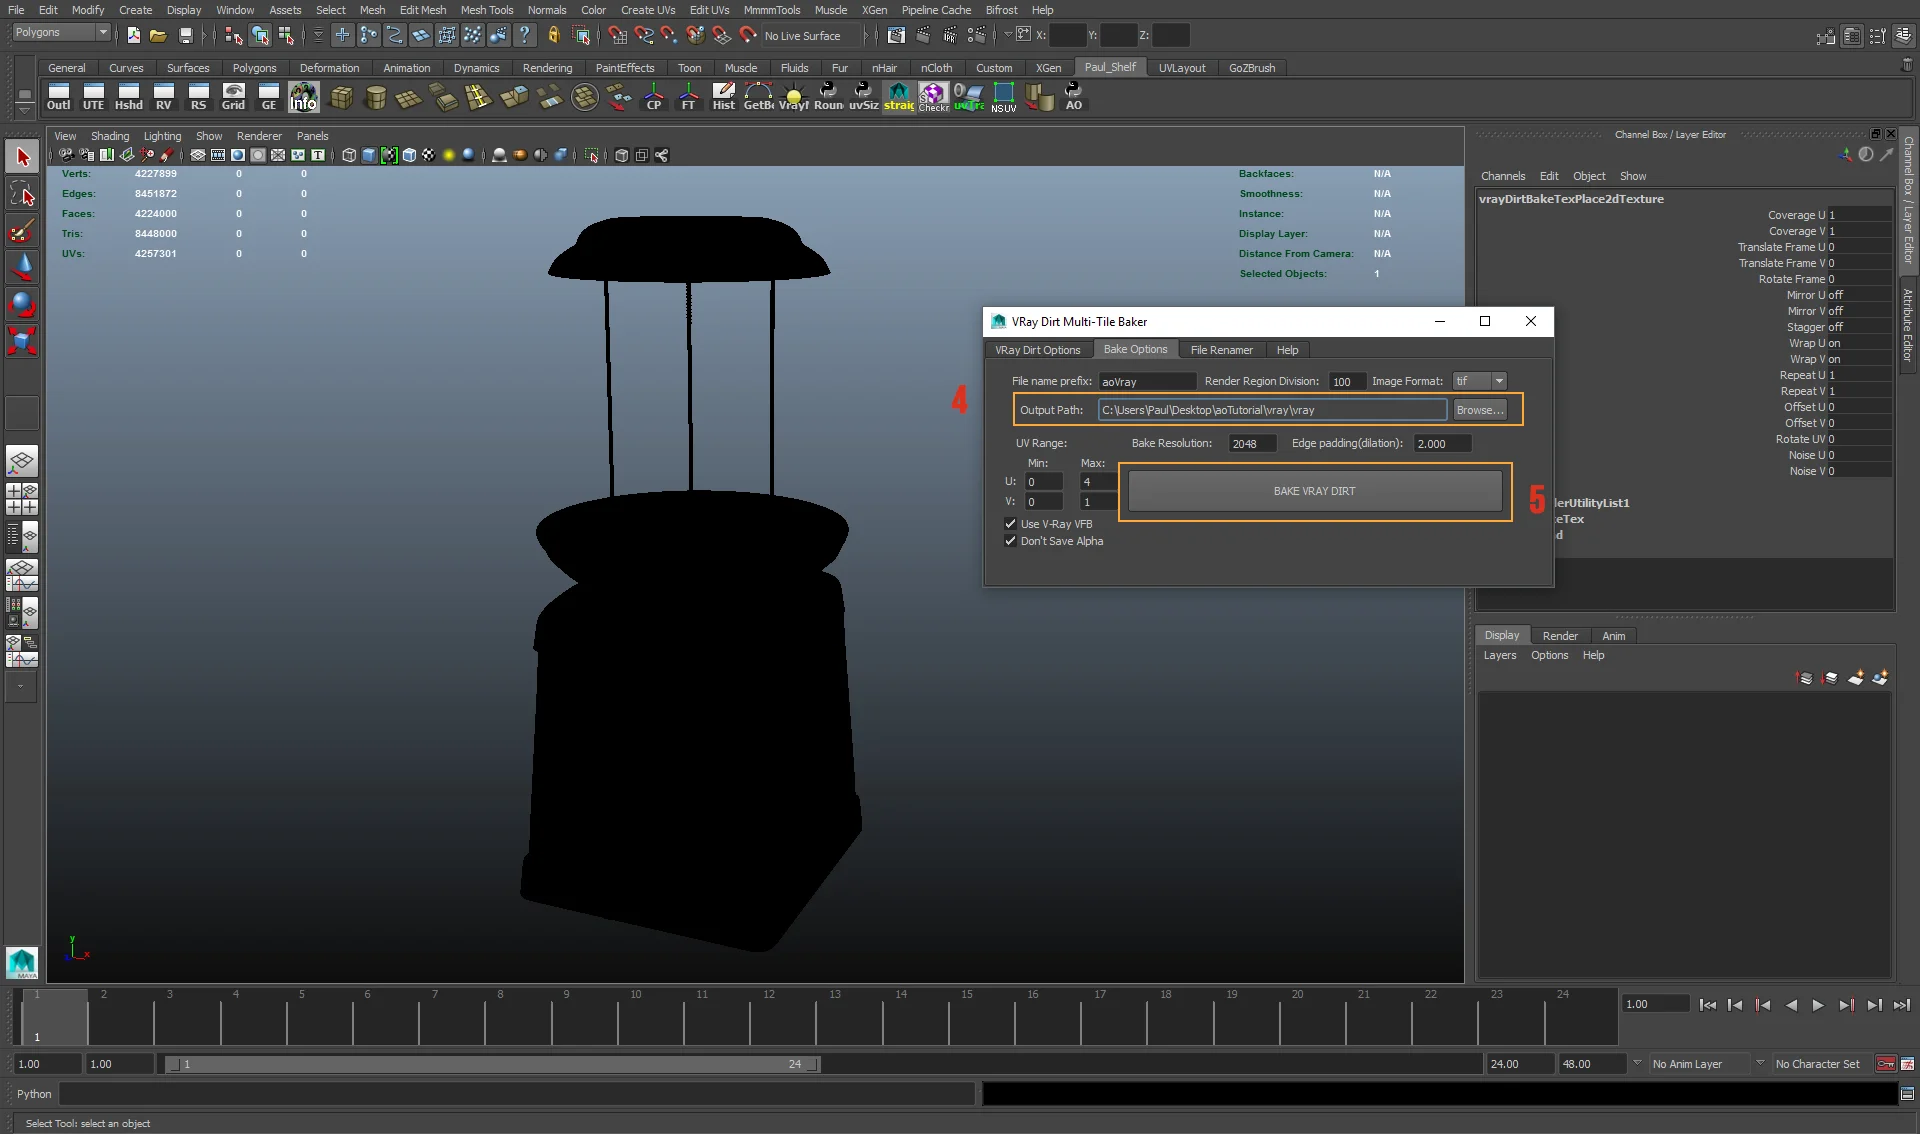
Go to the next tab, Bake options. On the screenshot below I highlighted the areas that you should pay more attention while adjusting your settings.
- Choose the desired image format
- Define your output resolution
- Define your UV range. If the numbers scare you, check this UDIM tutorial create by Ben Neall. It’ll help you visualize it better.
STEP 05
Choose your output path and then click on Bake Vray Dirt. Make sure to have your object SELECTED when you press the bake button. Otherwise, it won’t work.
STEP 06
If everything works, you will see the V-Ray Frame Buffer rendering the AO map.
This is how the result looks like in MARI.
